- Published on
k8s에서 Blue/Green 배포 전략
k8s로 전환 과정에서 다음의 as-is의 배포방법을 그대로 유지하기 위해, k8s에서 이를 지원하는 방법이 있는지 조사하였다.
as-is
- js 리소스들이 다른 버전으로 서빙되지 않기 위해 아래와 같이 배포 하고 있음.
- 배포 30분전에 서버 1대만 띄워서 1대로 유저 모음 (health 파일을 빼서 로드밸런서 타겟에서 제외시킴)
- 1대씩 배포하여 3대 모두 서비스
하지만 k8s에서 지원하는 다음 방법들은 아래와 같은 이유로 적용하기가 어려웠다.
-
recreate 는 한번에 모두 바뀌지만 서비스 중단이 일어나서 사용하기 어려움.
-
rolling update 는 순차적으로 old pod을 제거하는 동시에 new pod을 띄워서 old 버전과 new 버전이 동시에 서비스 될 수 있는 문제가 있음.
아래와 같이 설정하면 배포할 때 old3 + new3 = 6개 pod가 동시에 운영 될 수 있음
   spec:
   strategy:
       rollingUpdate:
          maxSurge: 3
          maxUnavailable: 0
      type: RollingUpdate
Deployment에서 지원하는 방법만으로 frontend web 서비스를 배포하기는 어려웠다.
그래서 서비스 중단없이, 한번에 여러대의 서버 모두 새 버전으로 배포하기 위해서 Blue/Green 배포를 고려하였다.
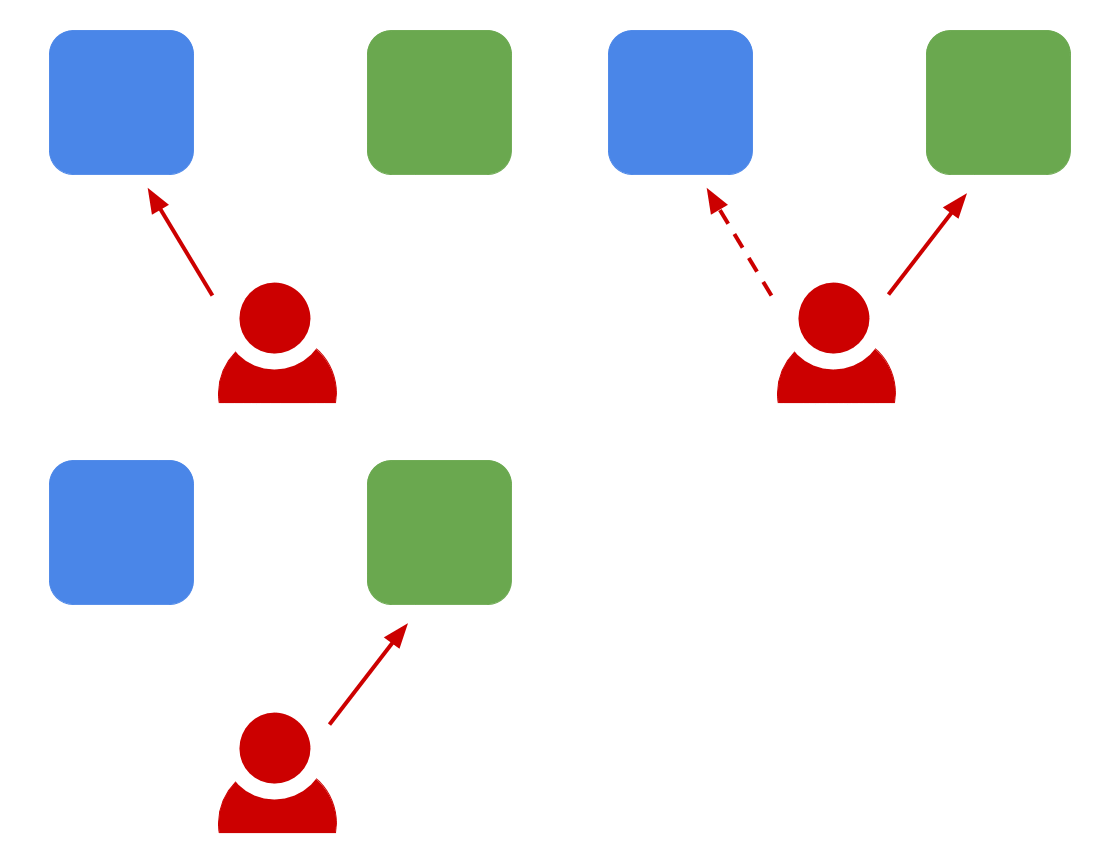
Blue/Green 배포에서는 서버클러스터의 새 복사본(그린)이 기존 버전(블루)과 함께 배포된다.
그런 다음 ingress/router 가 업데이트되어 새로운 버전(그린)으로 요청을 보낸다.
이제 기존 버전(블루)이 기존에 받았던 요청 처리를 끝낼 때까지 기다렸다가 블루를 내리면 되지만, 대부분 앱의 트래픽이 새로운 버전으로 즉시 변경될 것이다.

Kubernetes 에서는 Blue/Green 배포를 지원하지 않는다. 현재 가장 좋은 방법은 새 Deployment를 만든 다음 Service를 업데이트하여 새 Deployment를 가리키도록 하는 것이다. 어떻게 진행하는지 보자.
The Blue Deployment
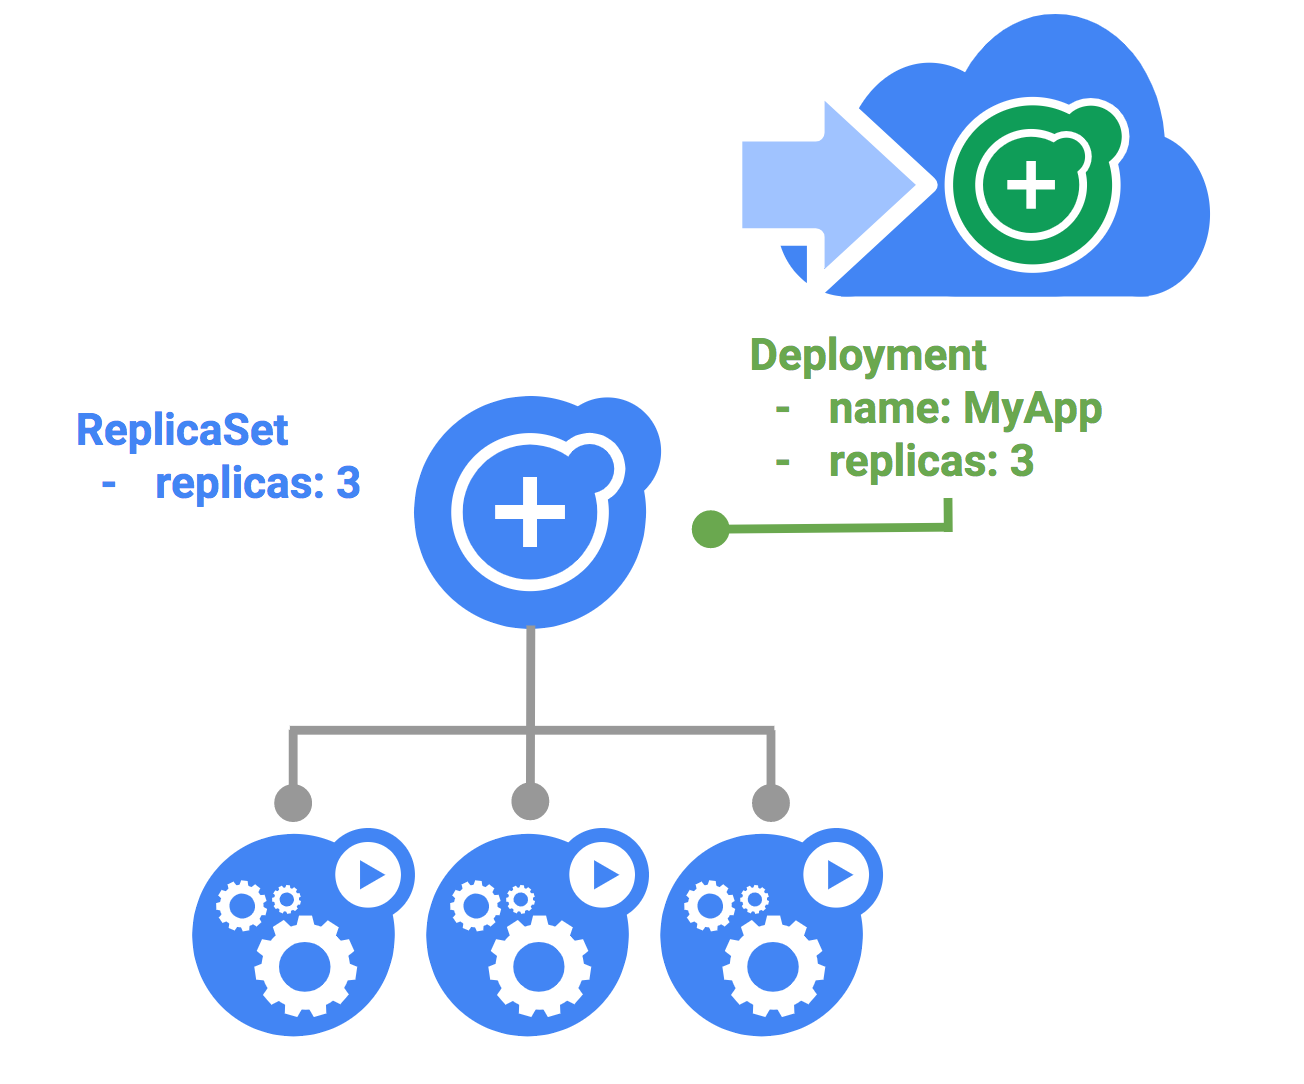
Kubernetes deployment 는 application의 인스턴스 그룹을 명세할 수 있다. 그러면 명세된 개수의 Pod를 실행하는 ReplicaSet이 만들어진다.

다음 blue.yaml 로 "blue" deployment를 만든다.
apiVersion: extensions/v1beta1
kind: Deployment
metadata:
  name: nginx-1.10
spec:
  replicas: 3
  template:
    metadata:
      labels:
        name: nginx
        version: "1.10"
    spec:
      containers:
        - name: nginx
          image: nginx:1.10
          ports:
            - name: http
              containerPort: 80
$ kubectl apply -f blue.yaml
Deployment가 만들어지면 Service를 만들어 Deployment 인스턴스에 액세스하는 방법을 제공 할 수 있다.
Service는 Deployment와 분리되어 있다. 그 의미는 Deployment에서 명시적으로 Service를 지정하지 않는다는 의미이다.
대신 할 것은 Service에서 바라보는 Pod를 선택하는 label selector 를 지정한다.
이번 경우 selector에 name=nginx and version=1.10 으로 설정한다.
apiVersion: v1
kind: Service
metadata:
  name: nginx
  labels:
    name: nginx
spec:
  ports:
    - name: http
      port: 80
      targetPort: 80
  selector:
    name: nginx
    version: "1.10"
  type: LoadBalancer
$ kubectl apply -f service.yaml
Service를 생성하면 클러스터 외부에서 액세스 할 수 있는 로드 밸런서가 만들어진다.

아래 명령어를 통해 Service에 접속하고 version을 확인해볼 수 있다.
$ EXTERNAL_IP=$(kubectl get svc nginx -o jsonpath="{.status.loadBalancer.ingress[*].ip}")
$ curl -s http://$EXTERNAL_IP/version | grep nginx
Creating Green Deployment
이제 Green 배포를 만든다. green.yaml을 작성한다.
apiVersion: extensions/v1beta1
kind: Deployment
metadata:
  name: nginx-1.11
spec:
  replicas: 3
  template:
    metadata:
      labels:
        name: nginx
        version: "1.11"
    spec:
      containers:
        - name: nginx
          image: nginx:1.11
          ports:
            - name: http
              containerPort: 80
$ kubectl apply -f green.yaml

이제 두개의 Deployment가 생성되었다. 하지만 Service는 "Blue"를 가리키고 있다.
여기서 LoadBalancer 가 "Green" 쪽으로 요청을 보내도록 가리키면 Blue-Green 배포가 완성된다.
Updating the App
아까 만들었던 service.yaml 로 들어간다. 그리고 selector의 version을 "1.11"로 변경한다.
apiVersion: v1
kind: Service
metadata:
  name: nginx
  labels:
    name: nginx
spec:
  ports:
    - name: http
      port: 80
      targetPort: 80
  selector:
    name: nginx
    version: "1.11"
  type: LoadBalancer
$ kubectl apply -f service.yaml
이제 아래 그림과 같이 Green으로 업데이트 된 App을 사용할 수 있게된다.

Automating
위 Blue/Green 배포를 script를 통해 자동화해보자. 아래 script는 다음 3개의 옵션을 전달받는다.
- Service 이름
- 배포하고자 하는 version
- green Deployment yaml 파일 경로
Service를 업데이트 하기 전에 Deployment의 status.conditions를 검사하여 Green Deployment가 준비될때까지 기다린다.
#!/bin/bash

# bg-deploy.sh <servicename> <version> <green-deployment.yaml>
# Deployment name should be <service>-<version>

DEPLOYMENTNAME=$1-$2
SERVICE=$1
VERSION=$2
DEPLOYMENTFILE=$3

kubectl apply -f $DEPLOYMENTFILE

# Wait until the Deployment is ready by checking the MinimumReplicasAvailable condition.
READY=$(kubectl get deploy $DEPLOYMENTNAME -o json | jq '.status.conditions[] | select(.reason == "MinimumReplicasAvailable") | .status' | tr -d '"')
while [[ "$READY" != "True" ]]; do
    READY=$(kubectl get deploy $DEPLOYMENTNAME -o json | jq '.status.conditions[] | select(.reason == "MinimumReplicasAvailable") | .status' | tr -d '"')
    sleep 5
done

# Update the service selector with the new version
kubectl patch svc $SERVICE -p "{\"spec\":{\"selector\": {\"name\": \"${SERVICE}\", \"version\": \"${VERSION}\"}}}"

echo "Done."